Showing posts with label tutorial. Show all posts

Mar 20, 2013

Dinosaur Pants {A Tutorial}

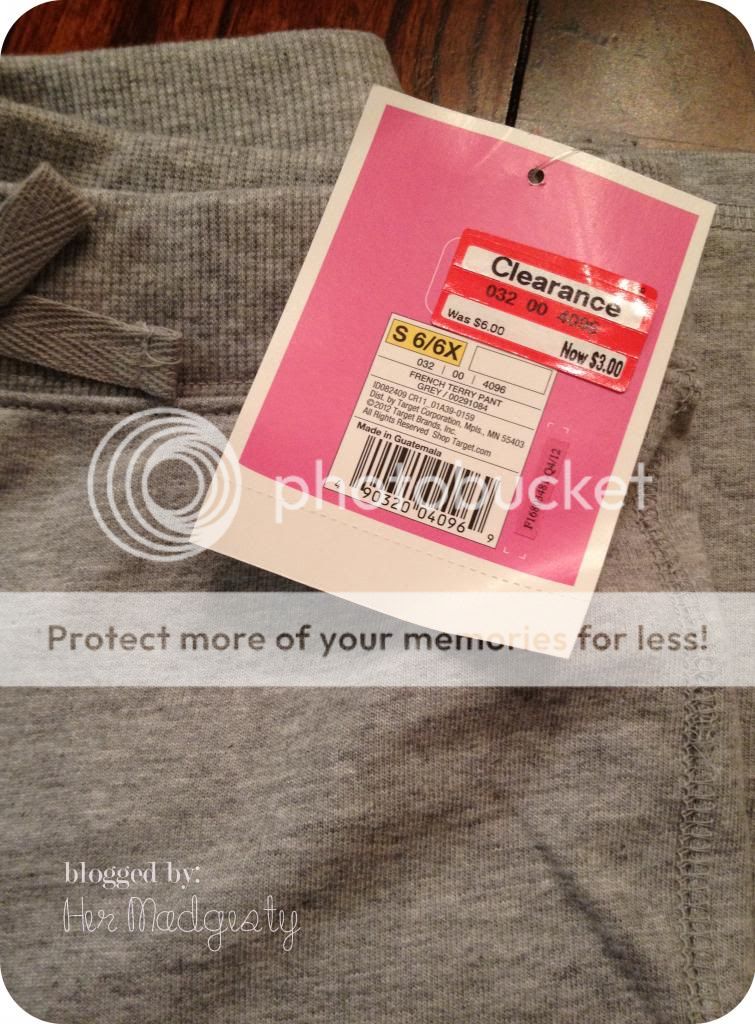
So the other day I had a lightbulb moment when I saw pairs of sweatpants for kids that were on sale at Target for just ....... $3 a pair! tada!!!!! See, I have been thinking that I really wanna get some sweatpants for Sebastian because I thought it'll be easier for him to pull them down and then back up every time he uses the bathroom at the preschool. They don't get any help from the teachers when it comes to that, but only because they were being trained for Kindergarten where they'll be practically on their own. Not that he needed help though, he's been potty trained for as long as I can remember - one area that we got very lucky at! (He was completely potty trained after, maybe 3 days? I think.) 

Oh but wait, there's a catch to it - they're sweatpants for GIRLS!!!! lol. But no worries, we've got Sebastian's mom to the rescue! I thought I will work wonders to these pairs! 

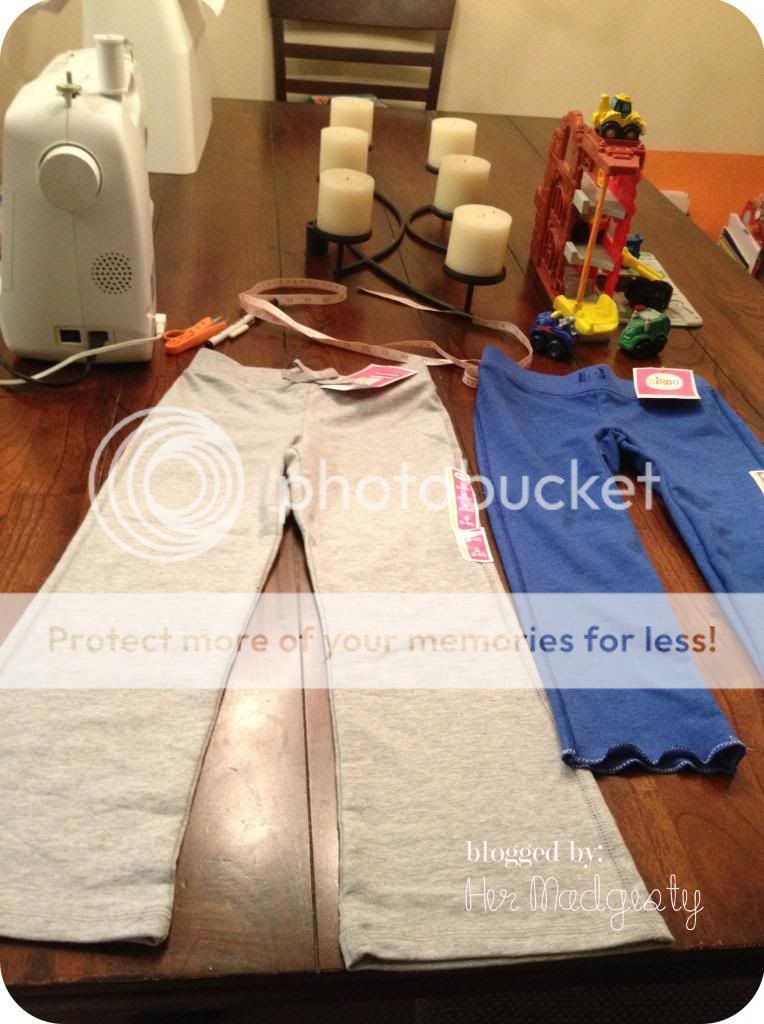
So here's the grey pair of sweats. I also got him the blue pair.


Since they're for girls, the pants have a flared hem. So using Sebastian's current pair of jeans, I got measurements and had the sweats ready for some alteration. (Tip: if you're going to alter something dramatically, get a bigger size so you have a lot of room to work on. I got a size 6, which is two sizes bigger than Sebastian's current size)
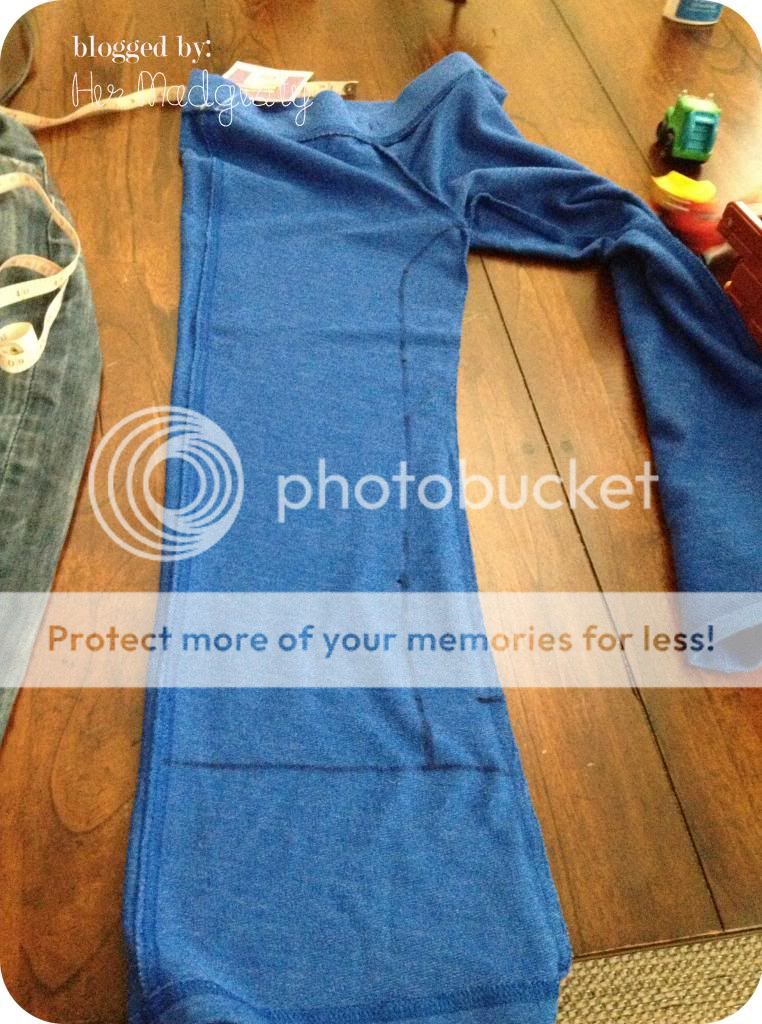


Took it to my beloved sewing machine: 
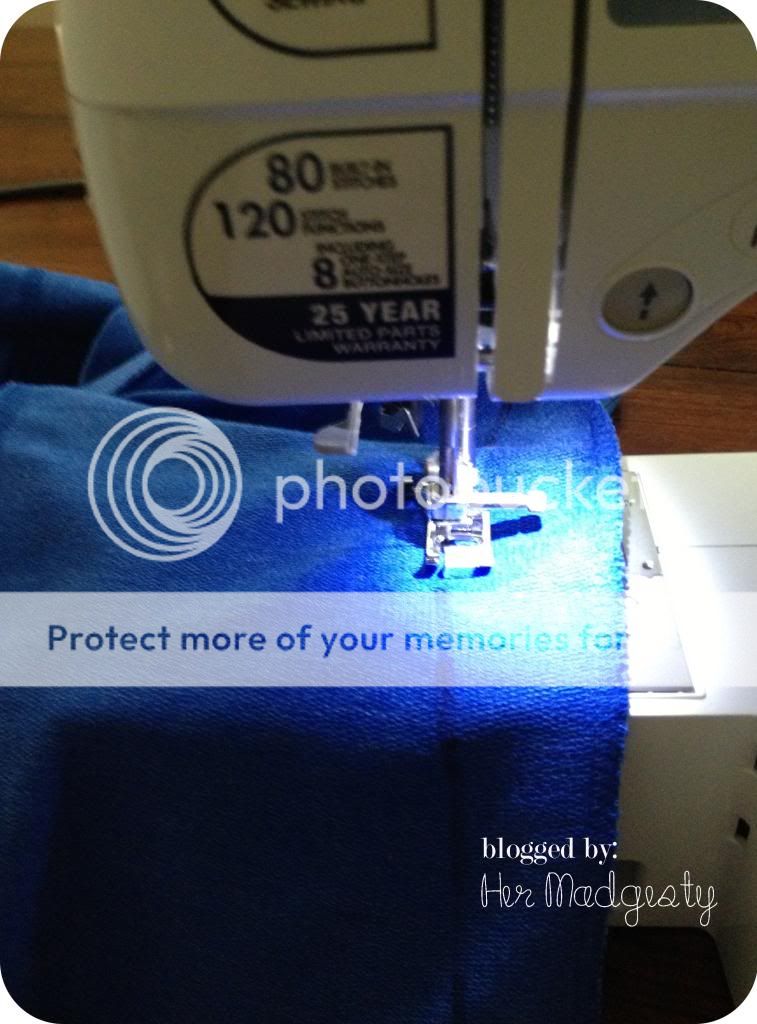


See the difference between the original and the altered pair: 


At this point I thought plain is boring! So I decided to print out a few images and stencil them later. 
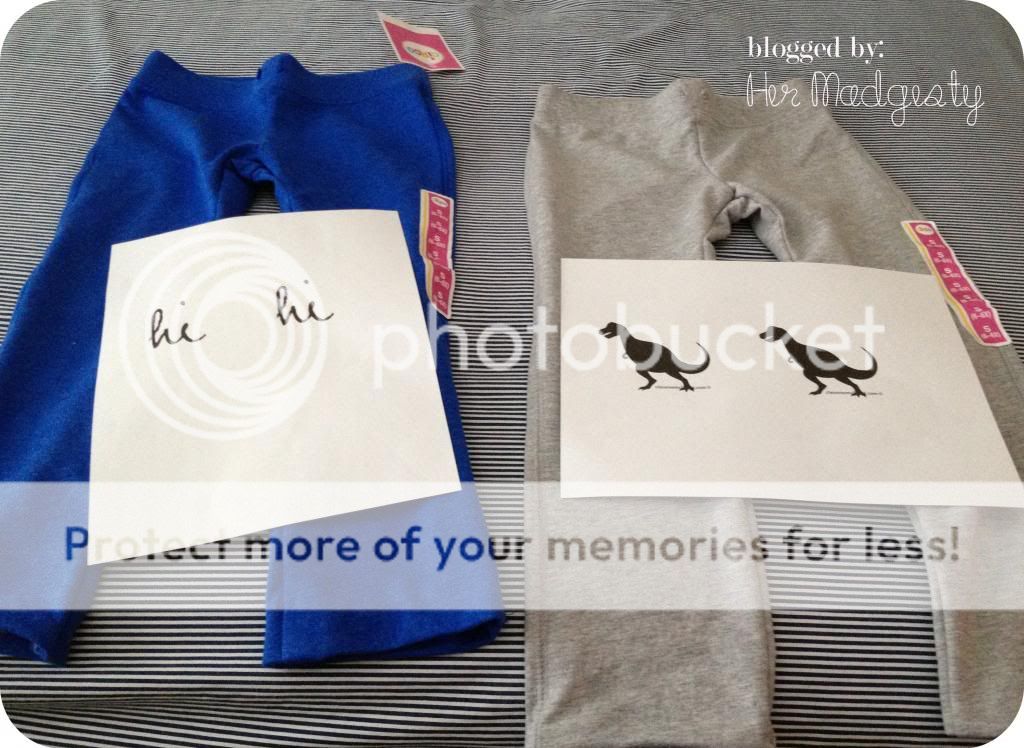


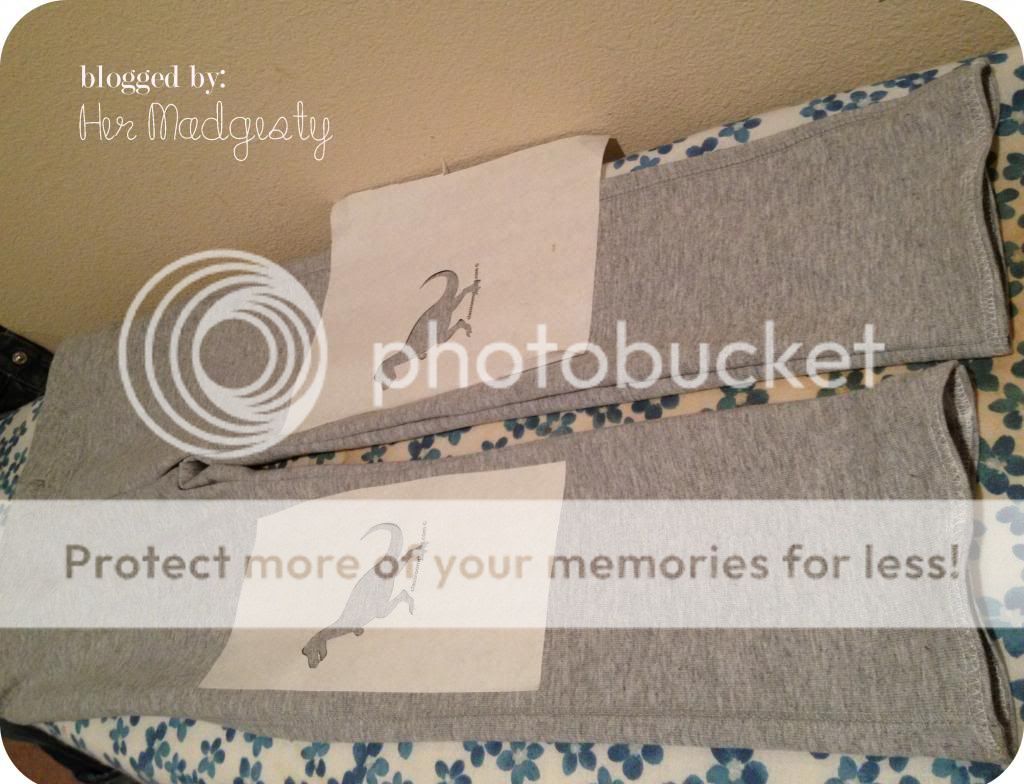
Printed the image on a freezer paper and cut the image to create a stencil. And then ironed it onto the knee part of the pants:


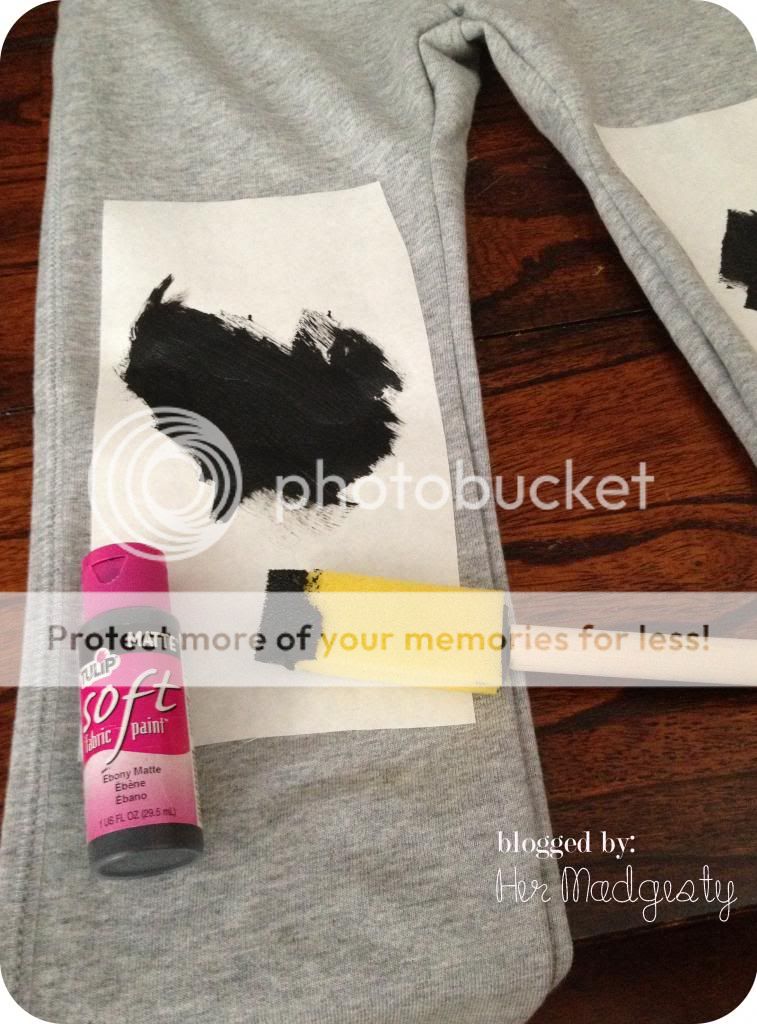
Painted over the opening: 


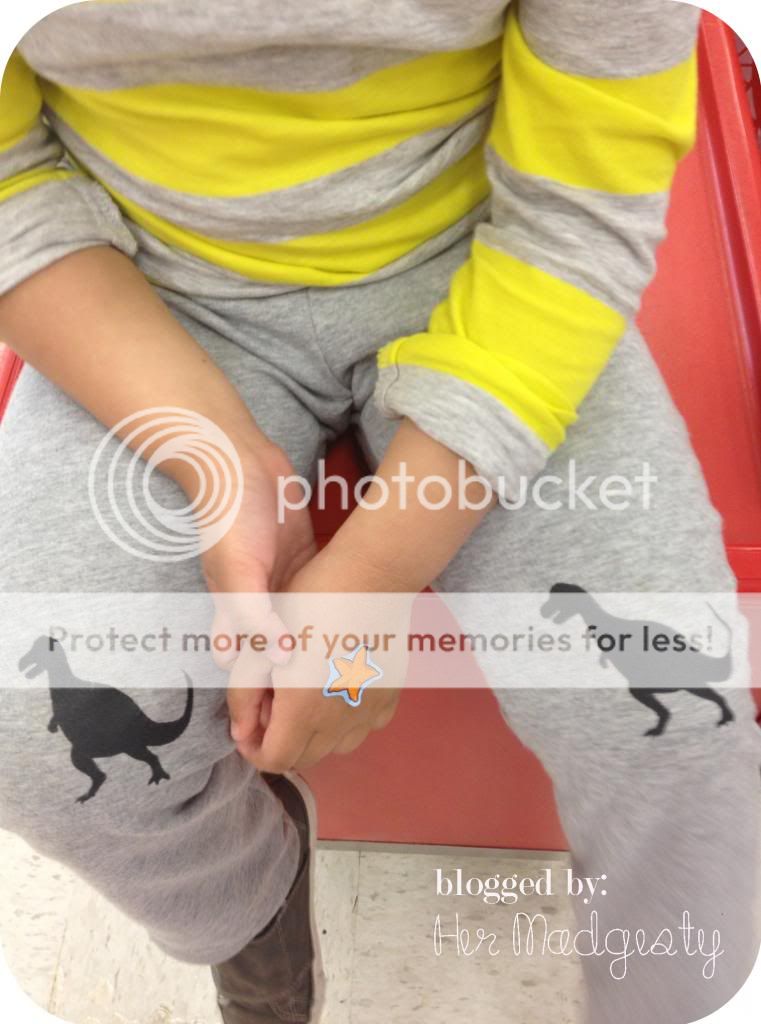
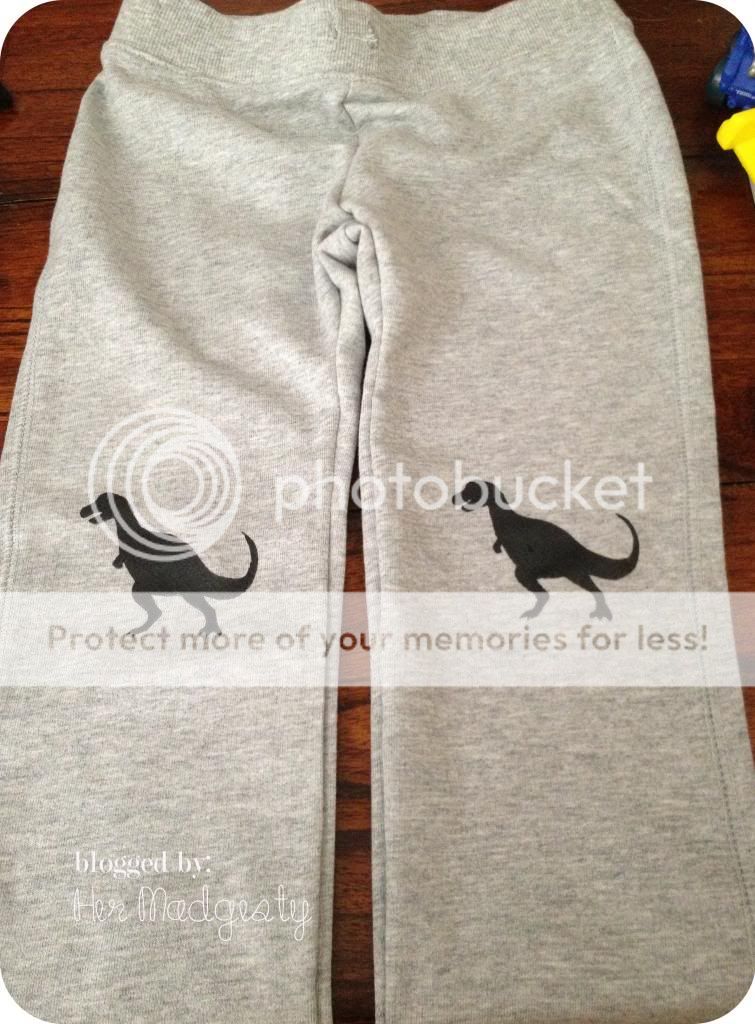
Let it dry for a few hours and peel off the freezer paper. Here's the finished product:


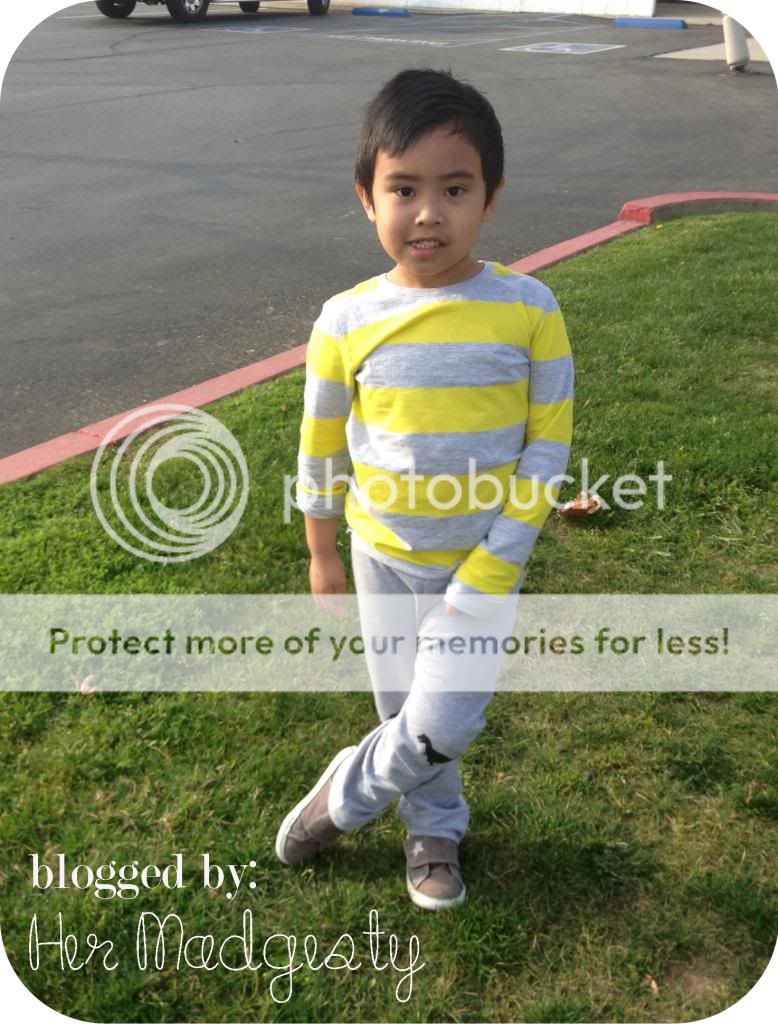
Dino pants in action! 
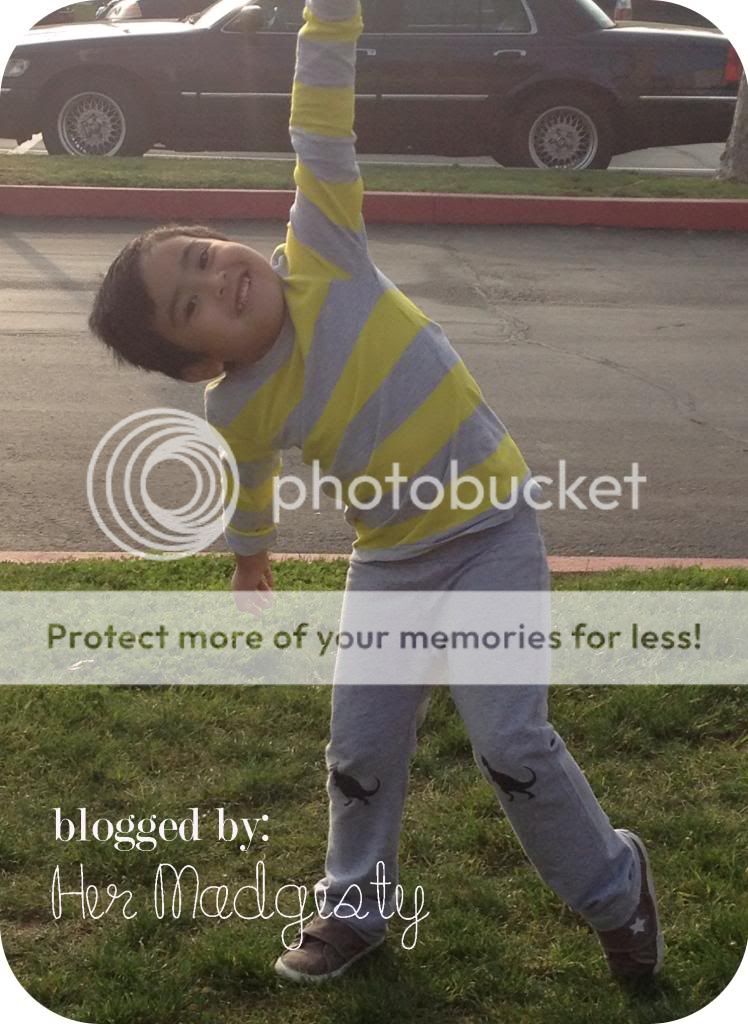


Yes he likes to hang out this way in Target!
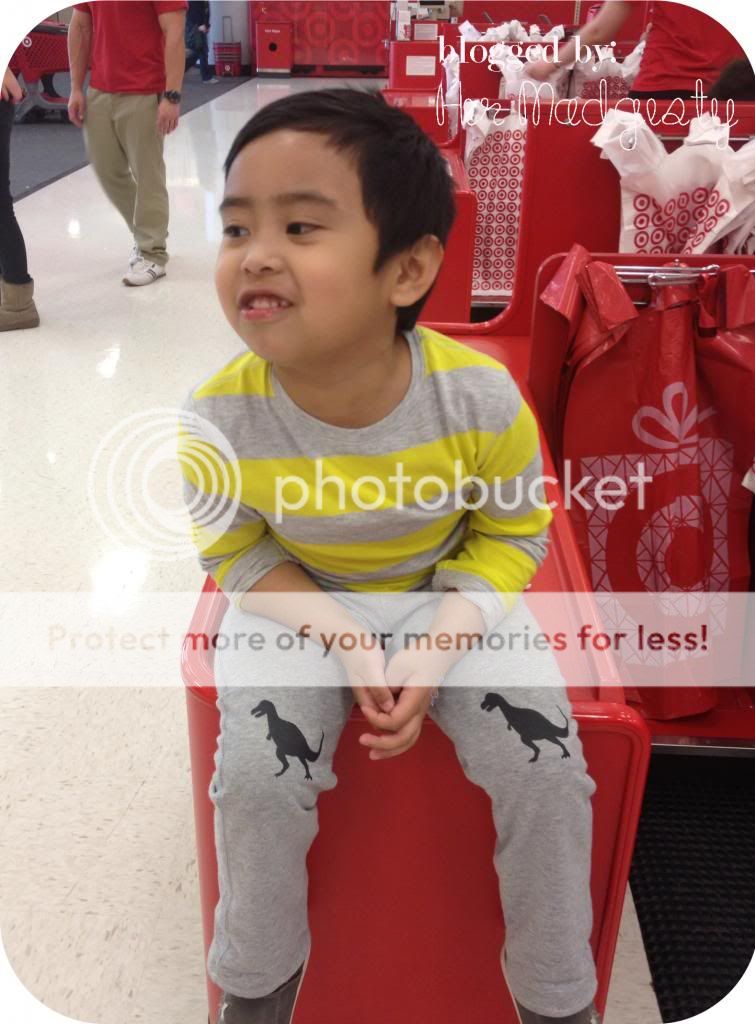


I'd post the other pair soon! For more stencil tutorials, go here: Jazz up your eco bag, or Pillow Talk. 


EDITED TO ADD:::

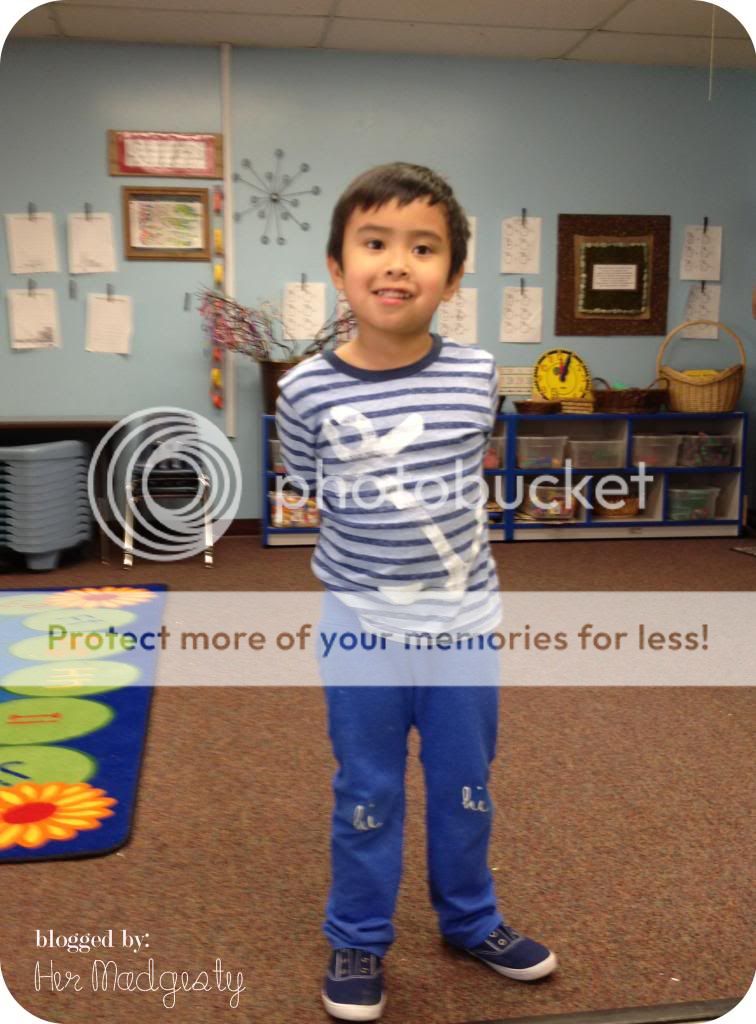
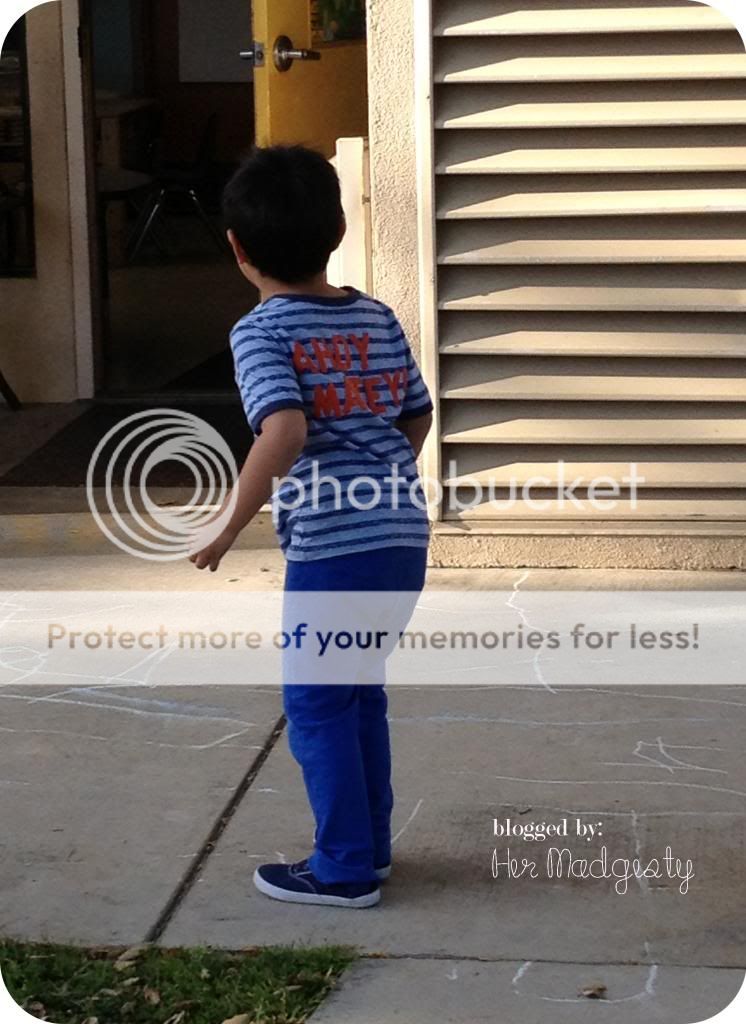
Here's the other blue pair that I altered too, and then printed with "hi" on the knees. I would've put "hello" but laziness struck me, what's new! Anyhoo....  


Front 
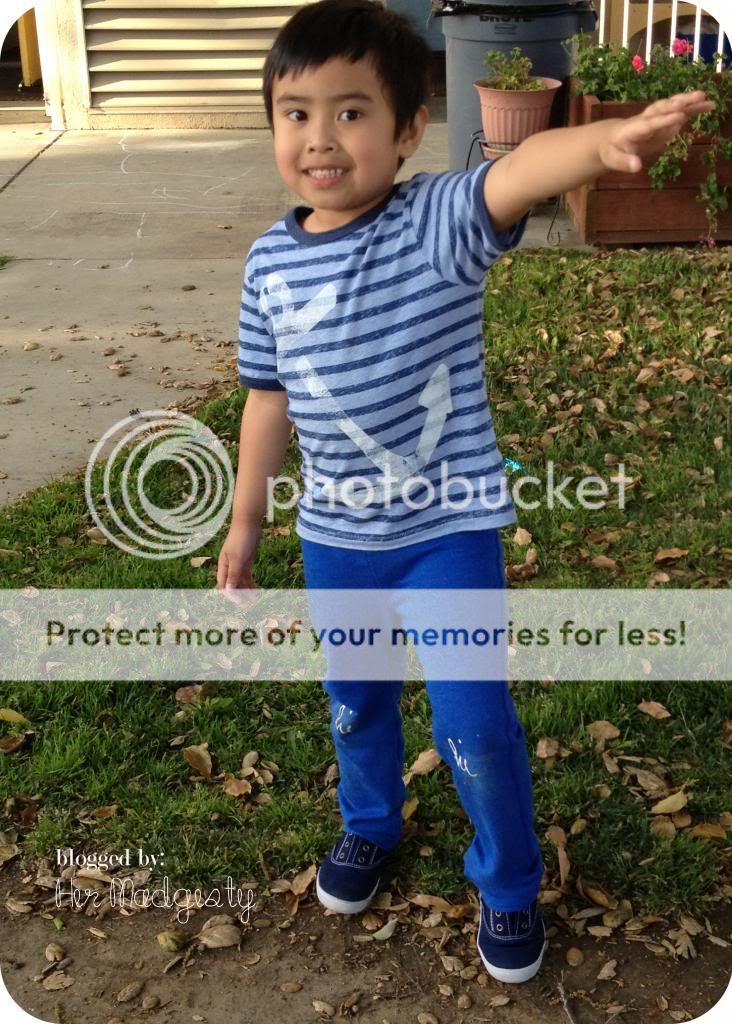


Side view
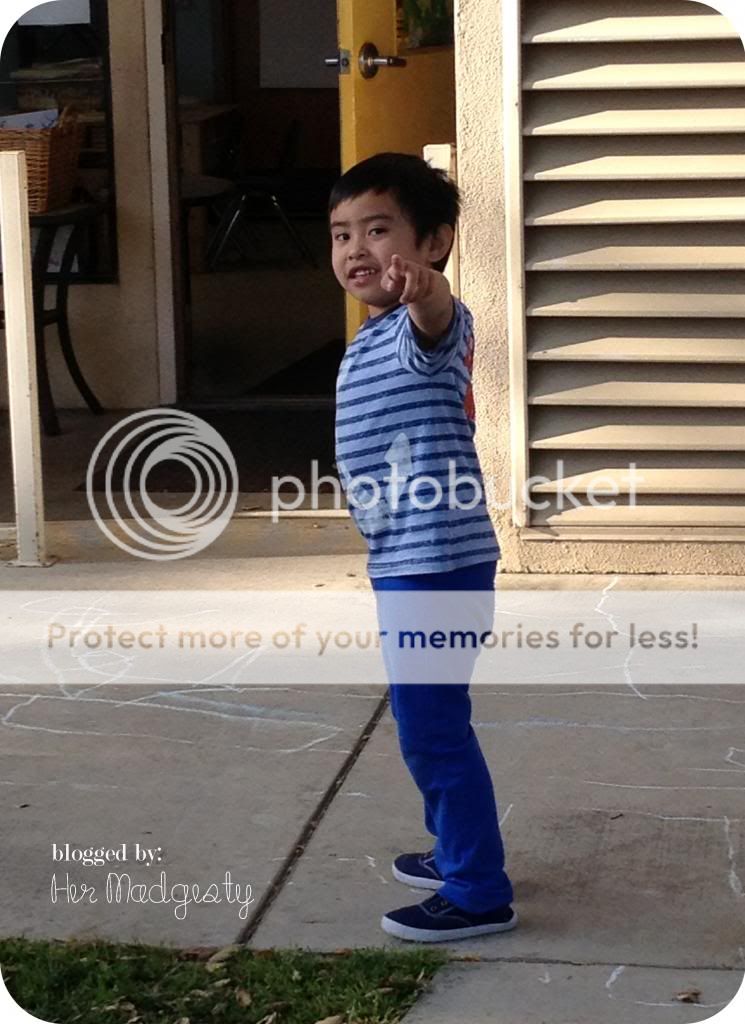

Back view lol


Mar 10, 2012

St. Patrick's Day treats!

Are you looking for the perfect St. Patrick's Day treats for your toddler's class? {St. Patrick's Day is on the 17th, in case you're not aware.} Then you've come to the right place! I made a few of these sweet little bags of candies for Sebastian's teachers, and he's supposed to hand it to them during the "St. Patrick's Day Celebration - Breakfast with Dads/Grandpas" on Friday --- which DH will attend even if it means being late to work, just to be the perfect dad to his little man, awww. {Applause! Applause!} 

Anyway, it was one of the easiest projects I've ever made, so easy even cavemen can do it! It's called "YOU'RE MY POT O GOLD AT THE END OF THE RAINBOW!"

Here's what you'll need:

M & M's plain 
Purple M & M's {we got this at Party City}
Rolo Caramel Chocolates 
Pretzel bags (we got it at Michael's}
White paper / cardstock for printing out the tags {just ask me for the gift tags file, I'll send it to you}

{Forgive me for the iPhone pics. American Idol was on TV when I was making these, I was too scared for Phillip Phillips I couldn't even leave the couch to grab a real camera. I know what you're thinkin, I'm a wimp!}

Rolo and M & M's


Pretzel bags that come with twist ties


So. Put 4 Rolos in a pretzel bag, push all the way to the bottom


Put about 10-12 of each color of M&M's inside the bag, arranging them according to the colors of the rainbow - ROY G BIV, remember Kindergarten? lol 


Tie the bag with the twist tie. And attach the gift tag. (We personalized by writing a short note on it}


Colorful, cute, sweet treats for your classmates and teachers on St. Patrick's Day! 

  
Also, I have the *word file* for the gift tags, just ask me for it so I can email it to you. 


Lemme know if you make one!!! 

Adios, piece of toast! {I really have that habit of practicing whatever Spanish Sebastian learns in school. I know....}


Nov 23, 2011

Turkey Tee

Last Friday was Thanksgiving party at Sebastian's school, before their week-long break. And what better excuse was there to make another stenciled tee than this major holiday??? Here's an "S" turkey shirt, obviously standing for "Sebastian." 


What I needed, first and foremost: 


Stencils for a huge letter "S" and the name "Sebastian" {which took me quite a long time to cut with an exacto knife}


After ironing the stencils onto the shirt, and covering it with fabric paint {orange and brown}, I brought out 4 more materials needed: 


TADA!!!! {Nice?? In fairness, I got a lot of compliments about it, and one mom commissioned me to make their family's personalized 'snowman' shirts for Christmas. } 


In school, teacher puts on Sebastian's turkey hat which he made himself during art time.  


Lining up to go to the parish hall to eat and celebrate 


Being helped by Ms. Anabel, and wearing another artwork-  a Fruitloops necklace 


{Older} Pre-K kids presenting a Thanksgiving play to the parents and to Sebastian's class. The kids were sooo cute! 


Shhhh... stop chatting! lol


Turkey time!!!! Eating with his classmates 


Happy Thanksgiving, everyone! 


Oct 28, 2011

Halloween OWL Treat bag


For this coming Halloween, Basti will give a few treat bags to his favorite teachers in school. We will put a handful of chocolate-drizzled macaroons inside each bag. {These are coconut macaroons which I will bake, then drizzle with chocolate when done - so easy! They're not your famous french macaroons though....but still so good!} 

And since it's still roughly 3 days to go, I wanna share with you how I made the treat bags, just in case your child/children plan to give something to their teachers as well. 

Click on each picture to enlarge and to see the detailed instructions: 


{largest should be in a shade of brown; middle size should be white; smallest circle should be black}


Hope you all have fun making these adorbs OWL treat bags! 

xo

Oct 21, 2011

feeling halloween

Please don't hate me for doing a halloween post which I know could probably be the 304th halloween post you've read in the entire blogsphere since October started. You know kids mesh well with this holiday {and I happen to have one,}... and for realsies? I love it too. 

So since little boo and mom were both feeling the occasion, we decided to pay tribute by swearing to wear only halloween shirts to school beginning today. 

We got this gem of a plain black shirt from our mecca that is called Target {ha!} for a slight amount of $2.99 . 


Did our usual go-to project: stencils, wha' else? {For a complete how-to instruction, go here.} 


And Sebastian wore his cute GHOST shirt today!  


More halloween shirts next week, ya'all! 


Oct 4, 2011

I Share

because this is too precious not to .... !

i love scarves and i love to wear them in so many different ways. choose your pick! 

{double click on the video if you must, to enlarge}


Sep 21, 2011

Gathered flower tutorial

If you recall, I did a make-over on our throw pillows a while back. You may read all about it HERE. 

And so, since I've been browsing around a lot lately and  have gotten totally addicted to Pinterest {been addicted to it for a long time now, but I've just finally made my own yesterday, yay! --> but more on that much later.} I have never seen too many flower tutorials in my life than these past 5 days that I've been wasting time on Pinterest, so I thought.....why not make my own gathered flower??? 

Do you see that blue plaid throw pillow in the middle? That's the victim! lol

{As always, please click all pictures to enlarge}

Can't get enough of the boredom? Take a closer look: 


Here's what I did. I took out a plain white cotton fabric from my stash {you may use any type of fabric, WOOL or FELT might be good for pillows as they don't fray on the edges} and I cut out these "petals" -- I really don't know how you call that shape, so just enlarge the picture below and see what I mean. So, 4 big petals and 3 smaller ones. Feel free to adjust the shape and the size to your liking. 


And then for each petal, do this: make a simple running stitch through the center


then pull the thread to make the fabric sort of 'ruffled' or 'gathered'


after pulling the thread, wrap it around the center a few times


then secure it with a knot and cut the excess thread


do the same for each petal, and you get something like this


stack the petals two by two as shown below, using the bigger petals first


two more on top of the previous two


then the smaller petals at the topmost


when you're satisfied with how your flower looks like, stitch back and forth through the center of the flower to secure the layers


I added a tiny crystal-like embellishment at the very center using my glue gun, and then glued the finished flower to the center of the pillow


I thought it made the whole thing looked better than before huh? What do you say? :)